A properly installed pre insulated sleeve protects your critical penetration points—piping, conduit, HVAC—from the relentless and costly attack of thermal bridging. This isn't theoretical; it’s physics. After two decades on site, I’ve watched builders and contractors treat this component as an afterthought, rushing the steps and turning a simple installation into a massive long-term moisture liability.
The sleeve is a small component with a massive structural role. It seals the envelope, maintaining continuity where standard insulation fails. This guide cuts the noise. We detail the necessary preparation, the precise installation steps, and the unforgiving inspection points required to guarantee performance.
Why the Pre Insulated Sleeve is Non-Negotiable
Energy codes continue to tighten, demanding zero-tolerance against heat loss and air intrusion. When a pipe penetrates an exterior wall assembly, the insulation blanket is broken, creating a perfect path for thermal energy to move between interior and exterior surfaces. This pathway, known as thermal bridging, is not just inefficient; it is actively destructive.
The consequences are straightforward: severe condensation.
Condensation forms when warm, humid air meets a cold surface. Inside the wall assembly, this leads immediately to structural rot, mold, and eventual component failure. The pre insulated sleeve solves this by providing a defined, high R-value thermal break at the penetration point itself. It ensures that the vapor barrier and air barrier remain continuous, protecting the structural integrity of the entire building envelope.
You are not just installing foam; you are installing longevity.
Preparation: The 90% Solution
Failures in sleeve installation rarely happen during placement; they happen during preparation. The quality of the final seal depends entirely on the cleanliness of the substrate and the materials you choose to bond the sleeve to the structure.
Tooling and Inspection
Before you even remove the sleeve from the packaging, conduct a meticulous site inspection.
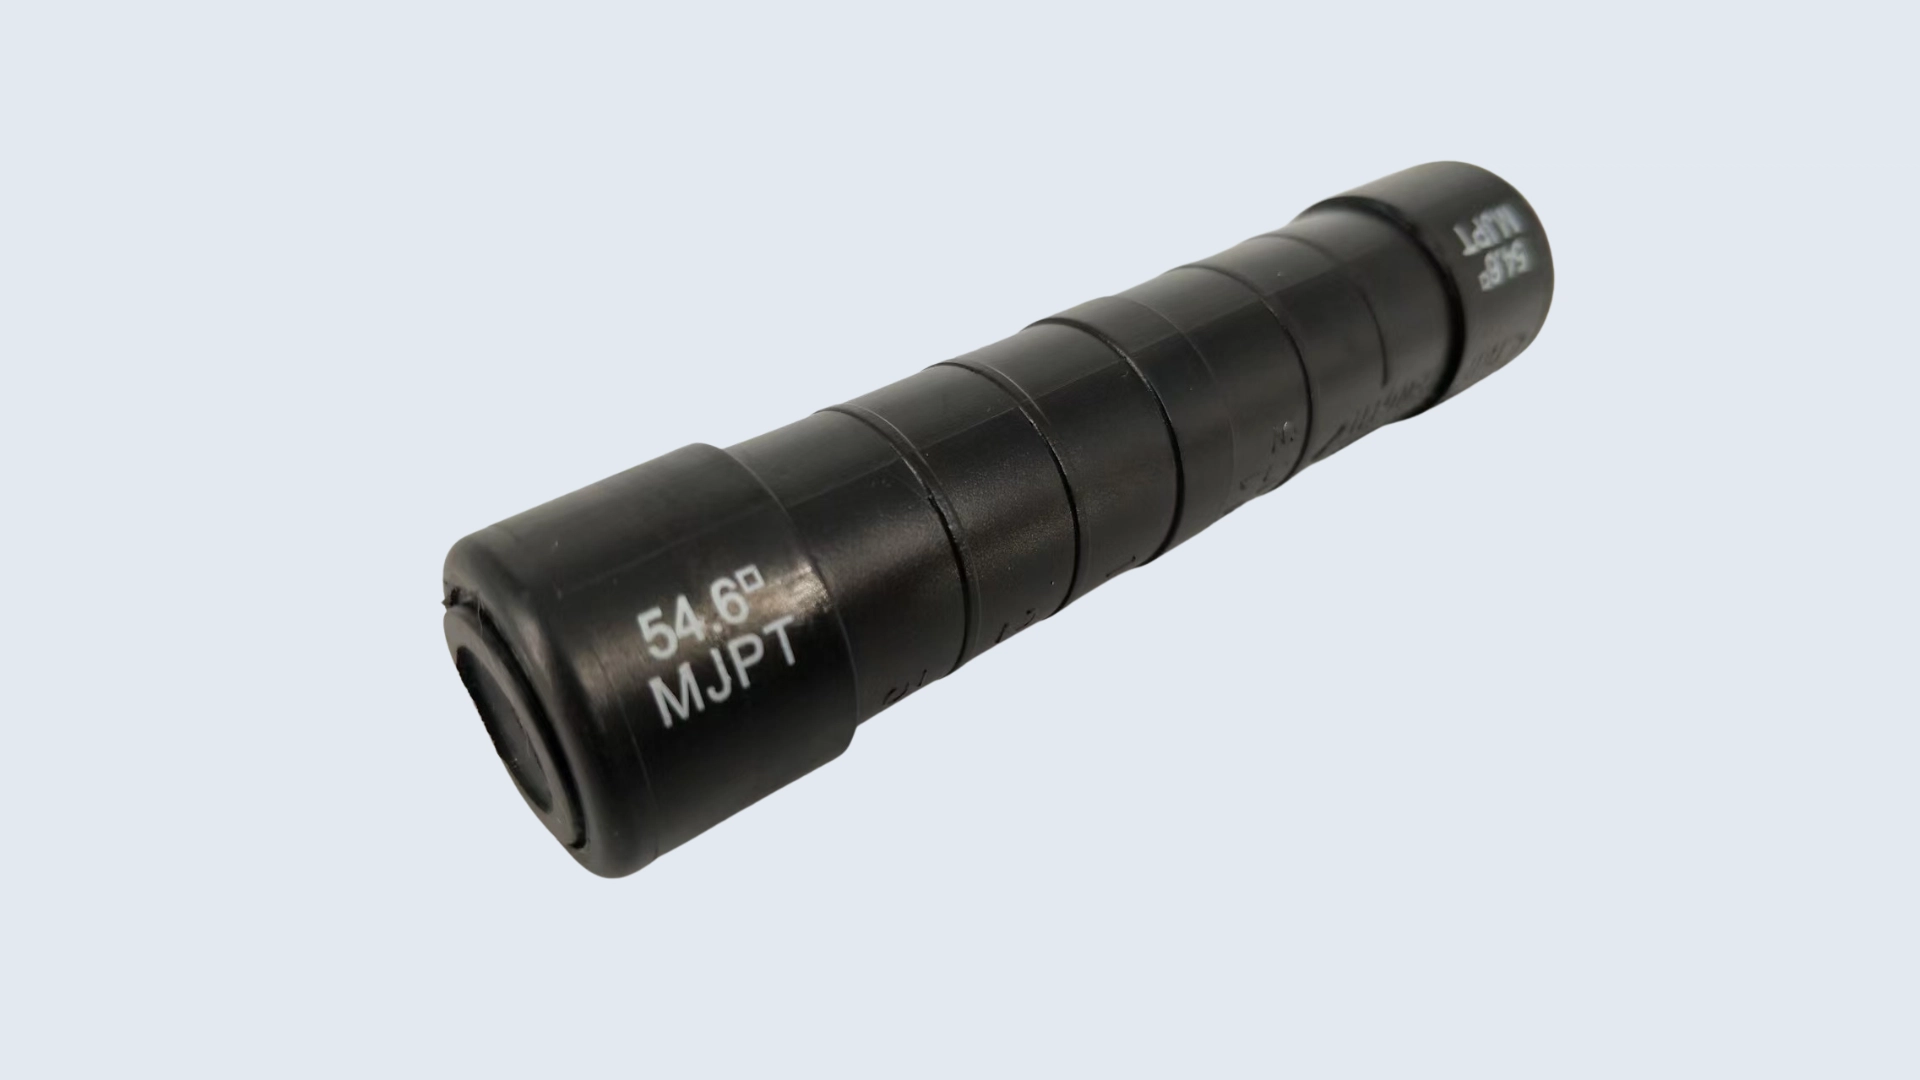
- Sleeve Sizing: The sleeve's inner diameter (ID) must perfectly match the outer diameter (OD) of the pipe or conduit being penetrated. Oversizing creates a large void that is impossible to seal completely; undersizing compromises the insulating foam. Use the manufacturer's specification sheet.
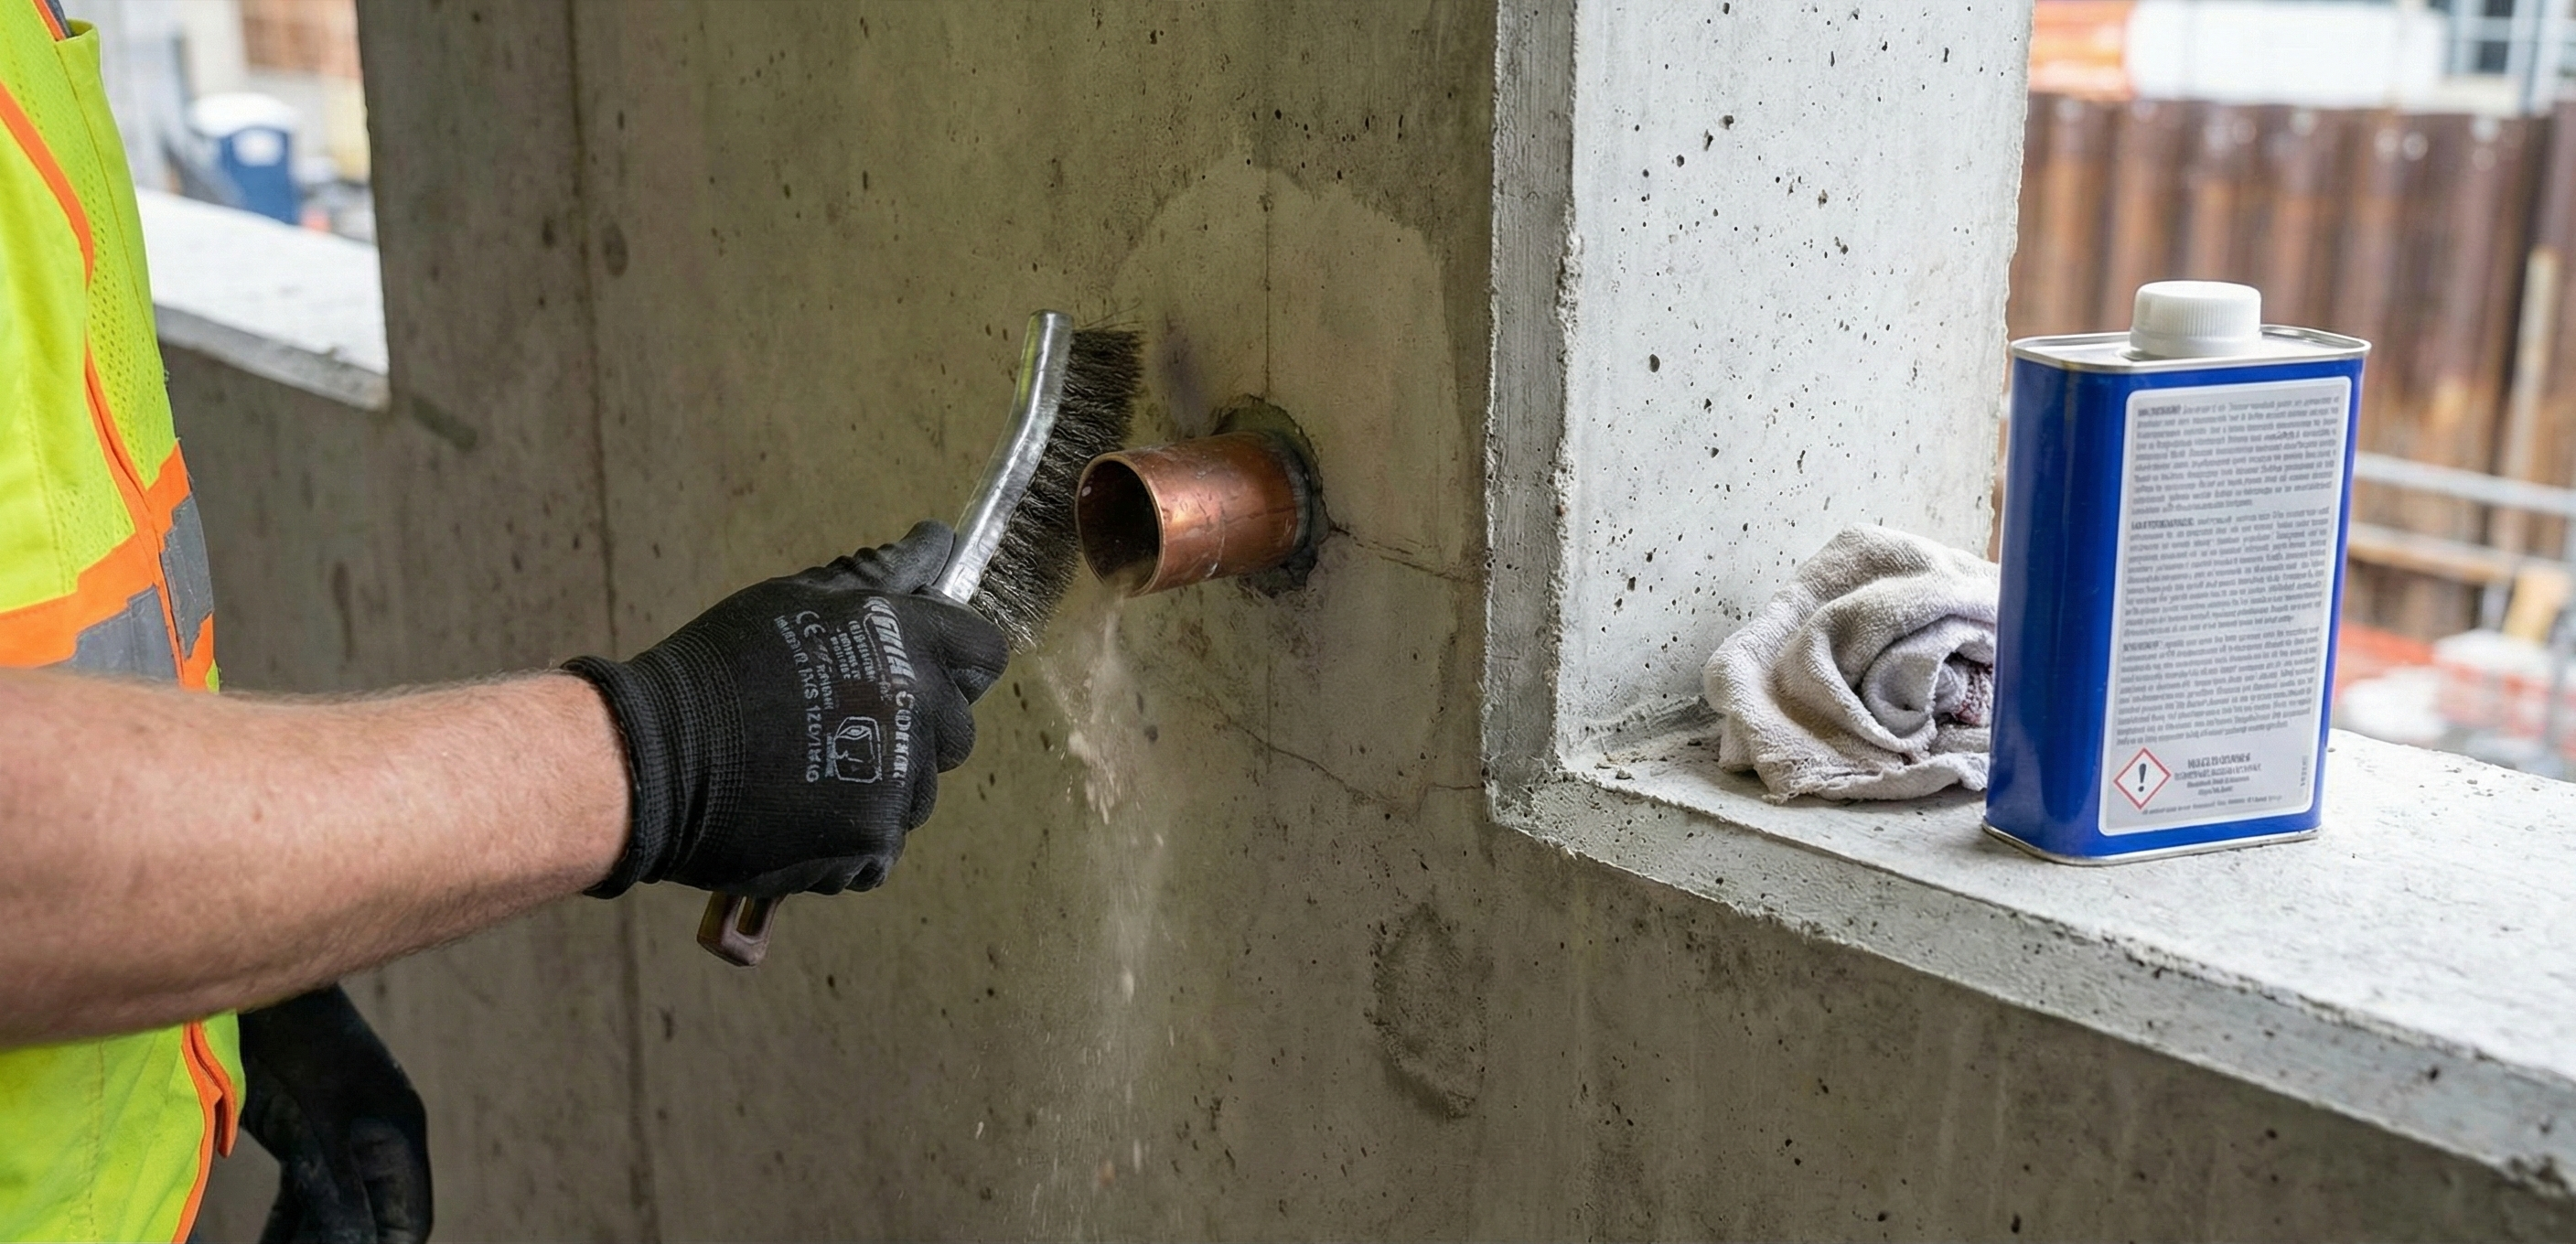
- Substrate Cleanliness: The wall surface—sheathing, concrete, or exterior gypsum—must be absolutely clean, dry, and free of dust, oils, or peeling materials. Dirt kills adhesion. Use a simple wire brush and a solvent wipe if necessary.
- Sealant Selection: Forget cheap silicones. You need a high-performance, flexible sealant capable of accommodating the structural movement inherent in the building assembly. Use a high-grade polymer, Silyl-modified polyether (SMP), or specialized butyl mastic. This sealant must be compatible with both the building envelope material and the foam/jacket material of the sleeve.
Step-by-Step: Installing the Pre Insulated Sleeve
This procedure assumes the pipe or conduit is already in place or is slated to run through the pre-drilled penetration.
1. Dry Fit and Trim
Hold the sleeve against the exterior surface where the penetration exists. Mark the exact depth required to ensure the sleeve sits flush against the wall assembly, extending slightly past the exterior finish, if specified. Use a sharp utility knife or saw to trim the sleeve to size. Maintain perfectly square cuts; angled cuts compromise the surface area available for sealing.
2. Substrate Sealing: The Critical Interface
This is the point of no return.
Before placing the sleeve, apply a heavy, continuous bead of your selected high-performance sealant around the entire perimeter of the penetration opening. The bead should be sized so that when the sleeve is pressed into place, the sealant squishes out uniformly around the entire circumference. Do not apply the sealant to the sleeve; apply it to the building material.
3. Placement and Compression
Fit the pre insulated sleeve over the penetrating pipe/conduit. Firmly push the sleeve into the prepared penetration, compressing the sealant bead you just laid. The sleeve must achieve full, circumferential compression against the building envelope; that perimeter seal is the primary defense against air and moisture migration. Hold pressure for several seconds.
4. Tooling the Exterior Seal
Tool the excess sealant that has extruded around the perimeter, creating a concave or 45-degree fillet joint that feathers smoothly onto the exterior surface of the sleeve and the surrounding wall. This ensures positive drainage and eliminates crevices where water can pool.
5. Sealing the Inner Void
A frequent failure point is the void inside the sleeve, where the pipe passes through the foam. You must treat this transition. Use a non-shrinking, fire-rated caulk or spray foam (if permitted by code) to seal the space between the pipe’s outer wall and the sleeve’s inner wall. This prevents internal air convection and maintains the thermal break integrity. A proper seal here eliminates the last possibility of air movement through the penetration.
Common Pitfalls and the Long-Term View
Do not assume exterior cladding will fix a poorly sealed sleeve. Siding, stucco, and brick are rain screens, not air barriers. The insulation assembly must be sealed independently.
If you observe any gap greater than 1/16th of an inch (1.5mm) around the perimeter seal, the installation has failed. Water penetration is inevitable. Pull the sleeve, clean the substrate, and re-seal. Rushing this installation guarantees mold growth within 18 months in any high-humidity climate.
The pre insulated sleeve is a simple part. Use the right procedure, protect your insulation line, and walk away knowing the penetration will hold up to decades of thermal cycling.