

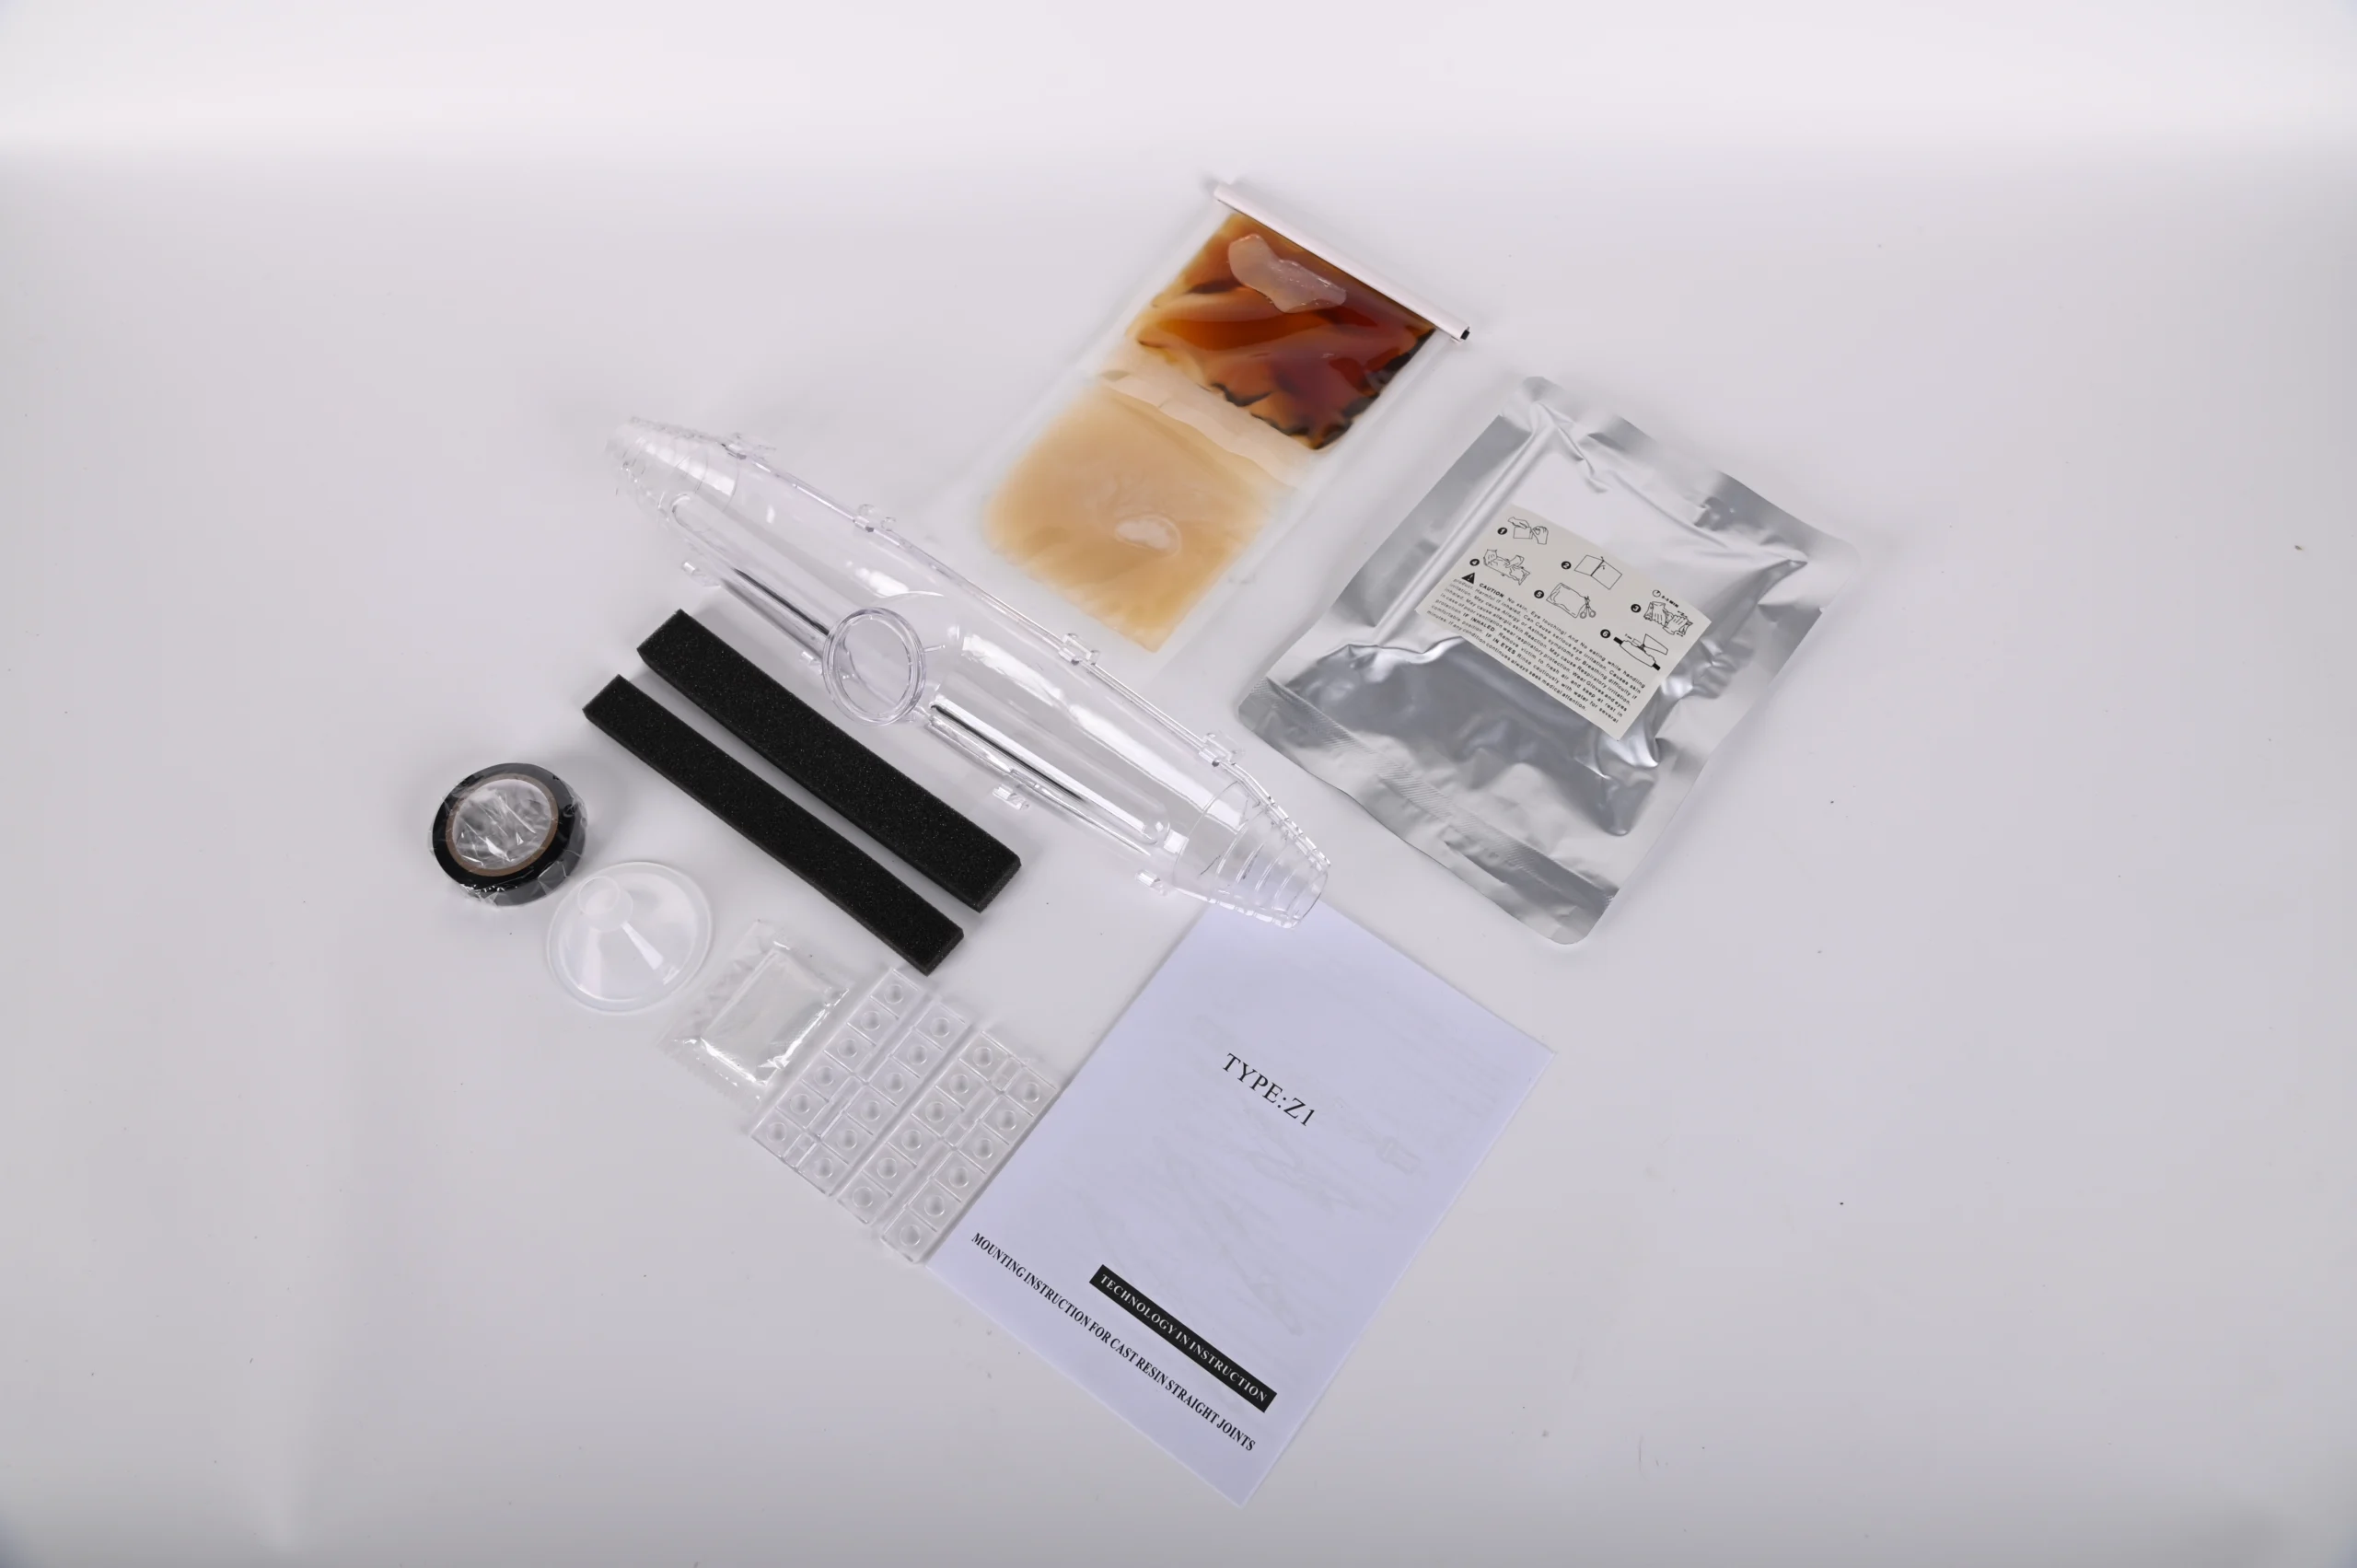
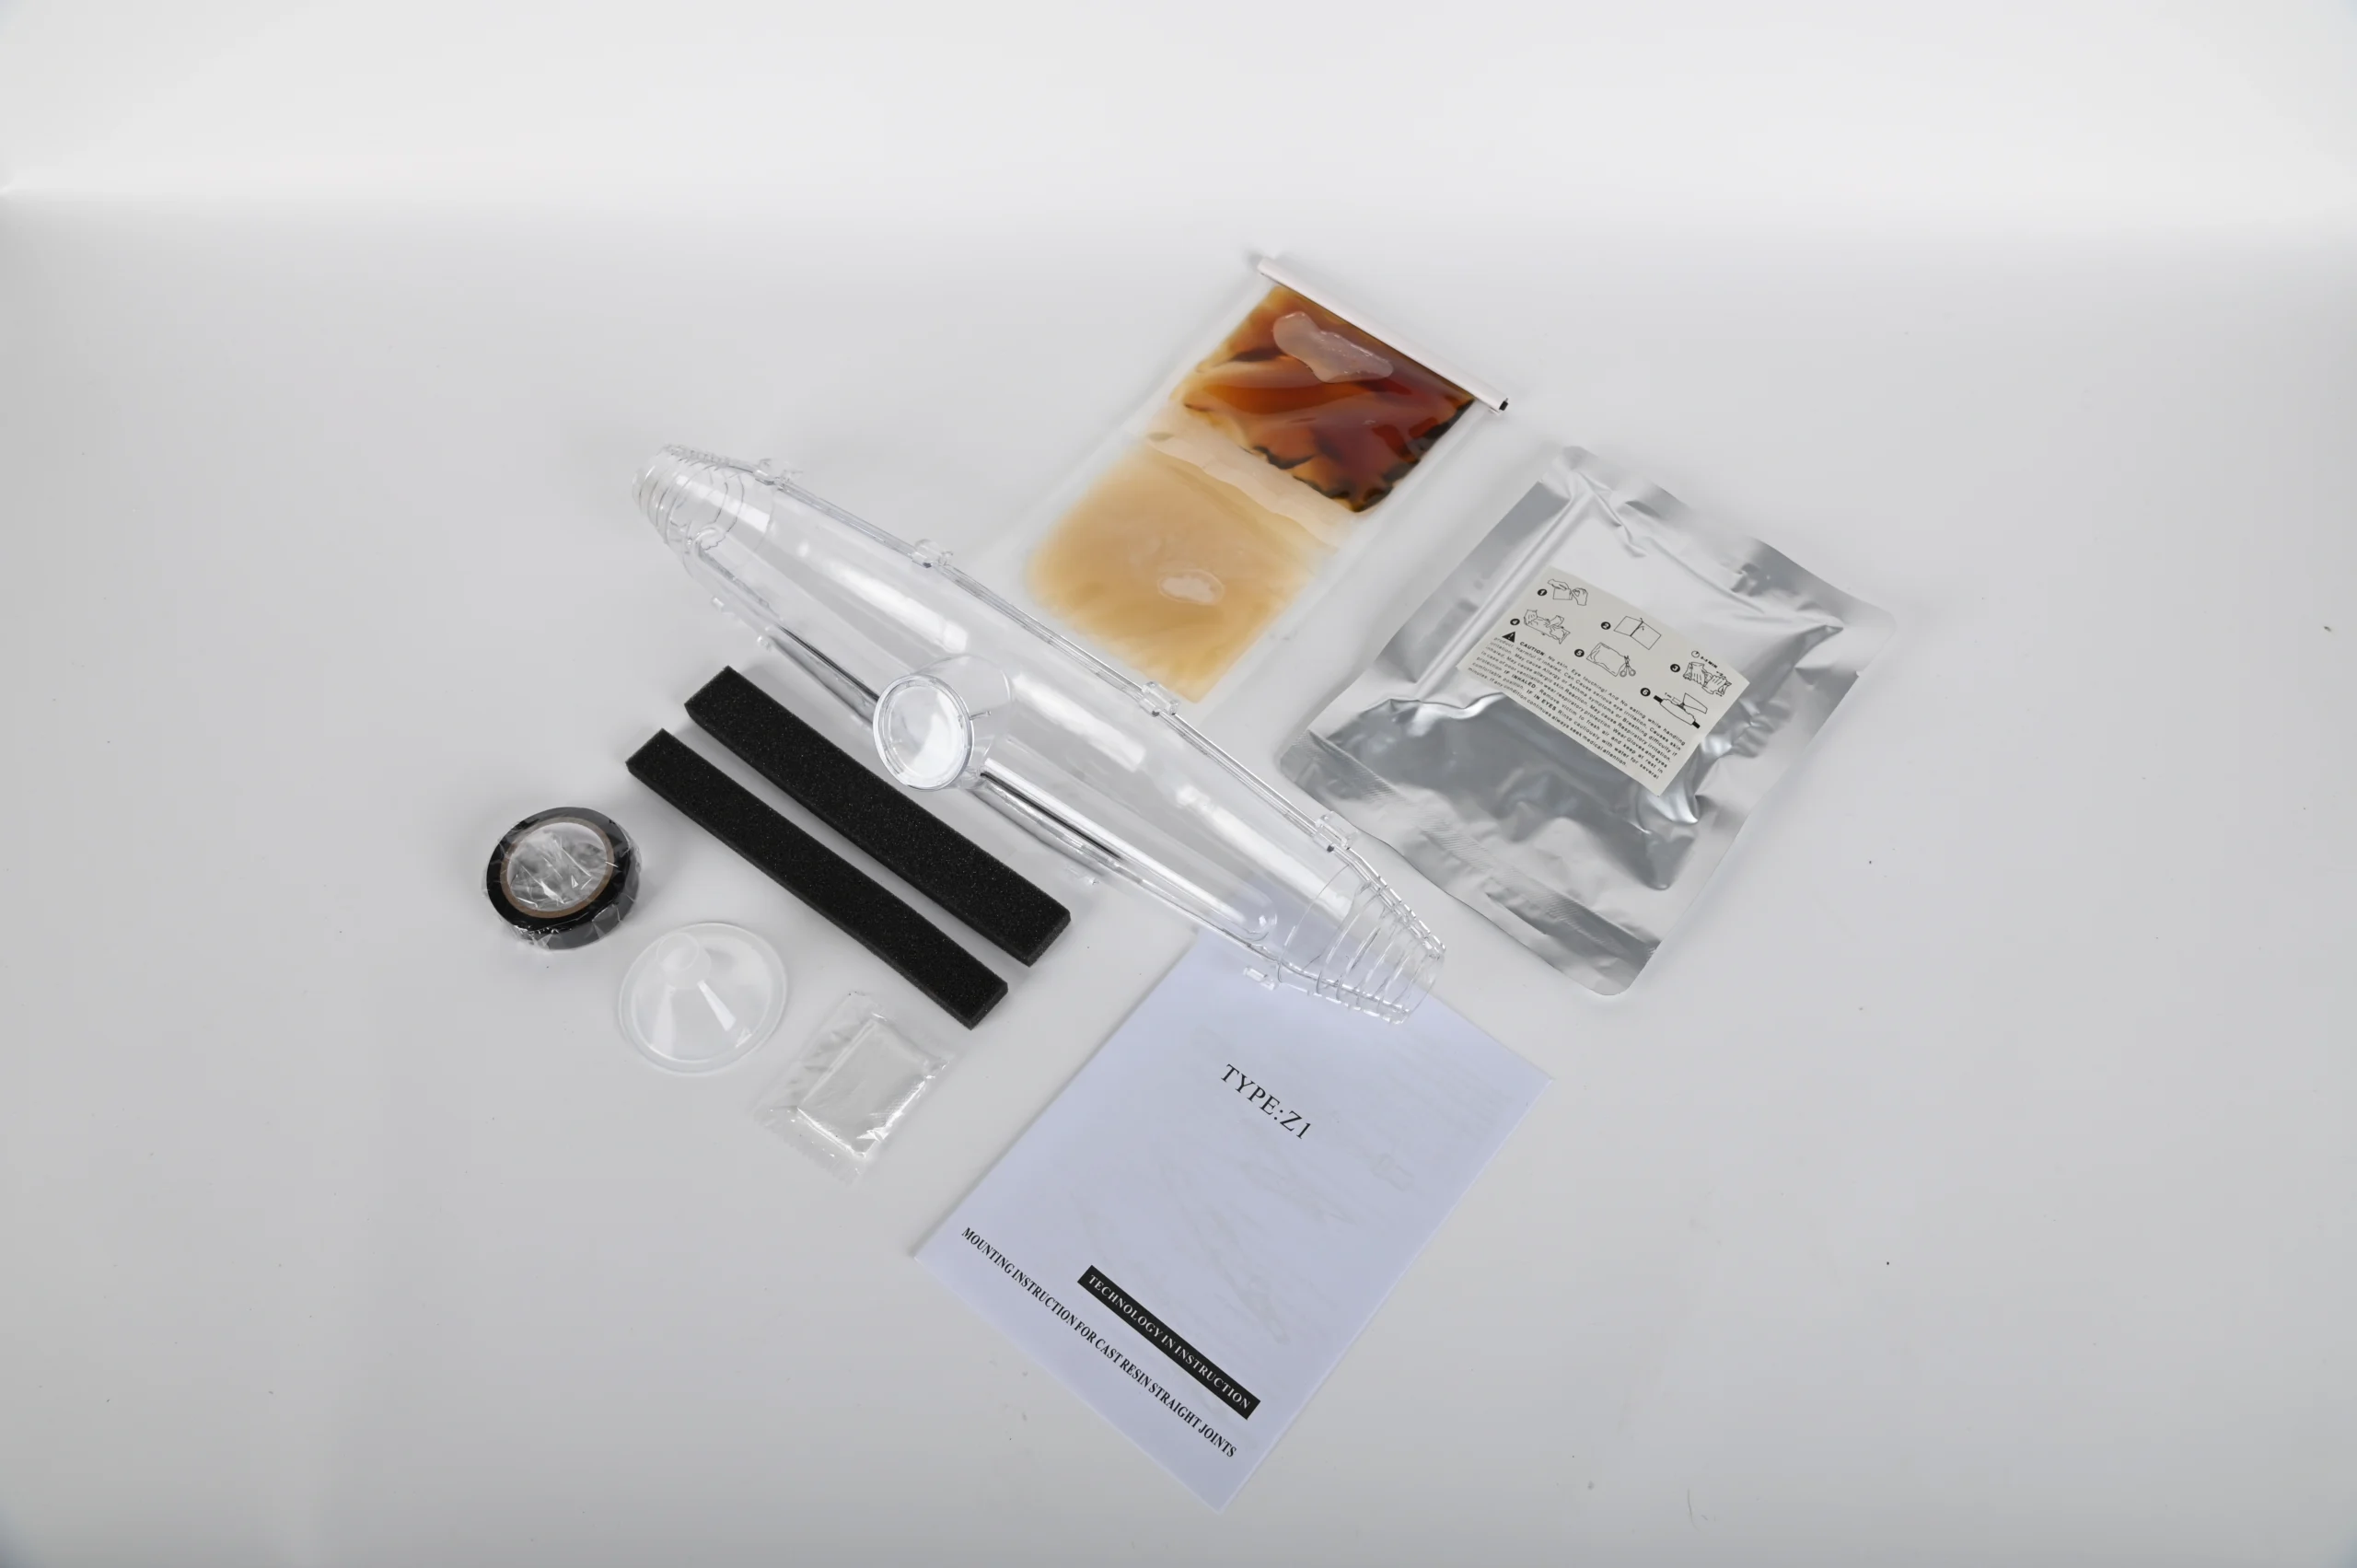
Step 1. Use the included insulating electrical tape to provide initial insulation for the connected cables. This prevents the stripped cables from touching each other and causing a short circuit.
(This product recommends using copper or aluminum tube crimping for wiring.)

Step 2. Peel off the double-sided tape on the sponge strips.
Step 3. If the cable diameter is larger than the original cable entry ports of the housing, cut the housing at an appropriate position. Use the scale marks at both ends as a guide to facilitate installation.
Step 4. Wrap the sponge strips around both ends of the cables. Position the strips so that half of each sponge strip is inside the housing and half is outside, aligning with the entry points of the waterproof box. After wrapping, snap the housing in place, ensuring each snap is securely fastened.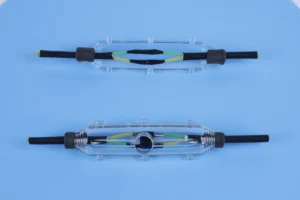
Step 5. Stretch the insulating self-adhesive tape 2 to 2.5 times its original length and wrap it tightly around both ends of the waterproof box. Carefully check for any gaps at the cable entry and exit points to prevent the injected sealant from leaking out.
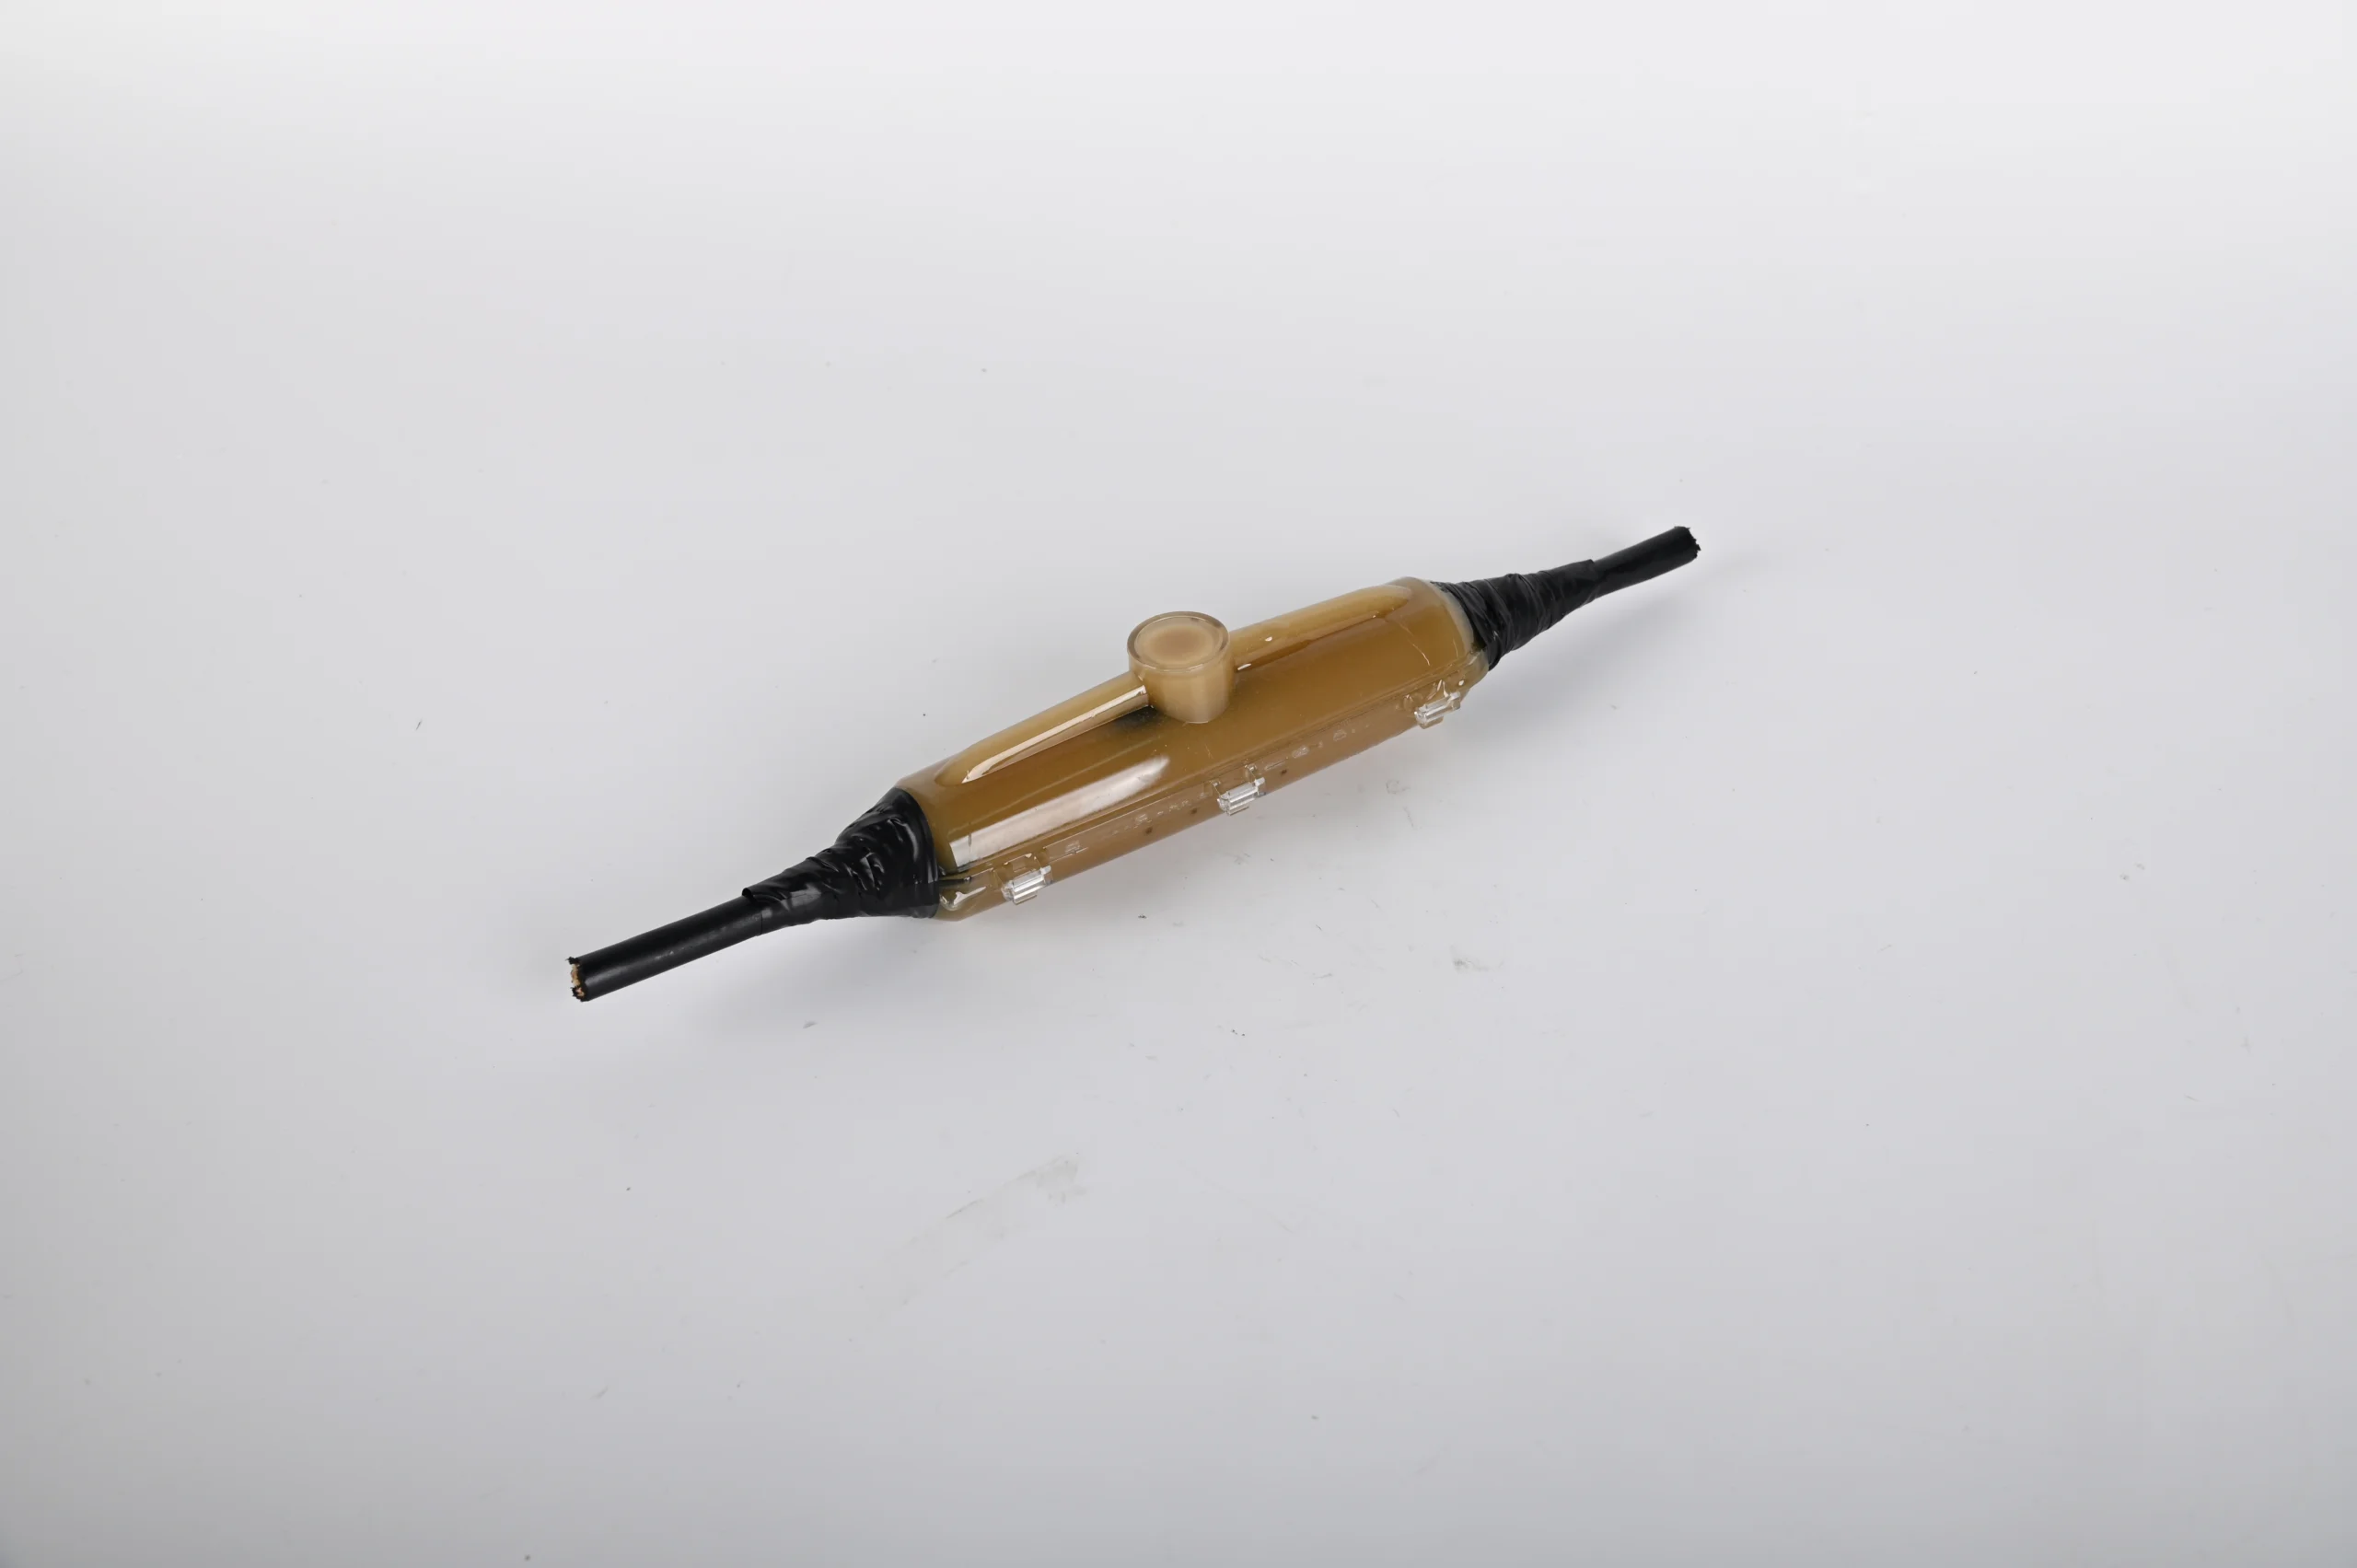
Step 6. After completing all the previous steps, mix the insulating waterproof sealant evenly. Position the waterproof box correctly, pour in the sealant, cover it, and wait for it to fully cure before burying it underground or submerging it in water for operation.
(Operation instructions for the waterproof sealant are attached to the surface of the sealant packaging bag.)
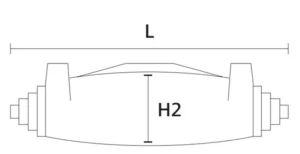
| Code | Cable Diameter (mm) | Product Size (L×H cm) |
|---|---|---|
| Z1 | 4–26 | 18.5×4 |
| Z2 | 14–32 | 26×5 |
| Z3 | 23–39 | 36×6 |
| Z4 | 24–45 | 40×7 |